Creating a Slab House / Birdhouse
Keep everyone in your home entertained with Mighty Mud’s Slab House / Birdhouse Project! This is for all ages, kids and adults and everyone in-between. Click the link below to purchase and reserve your box!
We’re currently sold out of the Pinch Monster Box. Follow us on Facebook to see our next project we’ll have!
Video Instruction
If you prefer to watch video instruction, below are 2 great videos. Otherwise, keep scrolling for attached pictures.
Step 2:
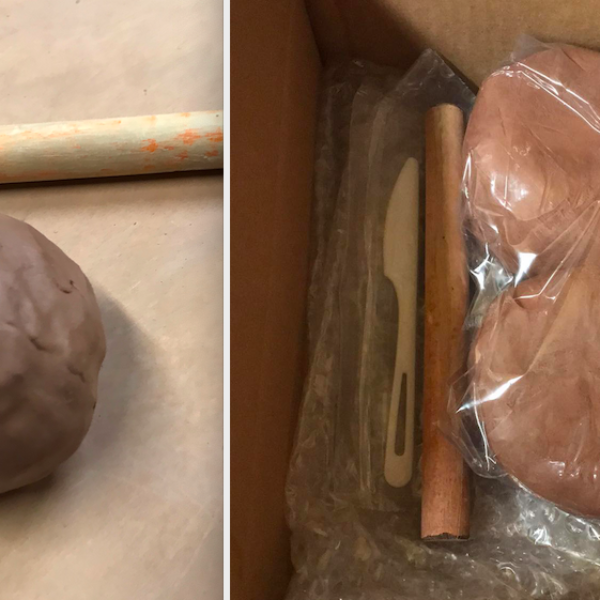
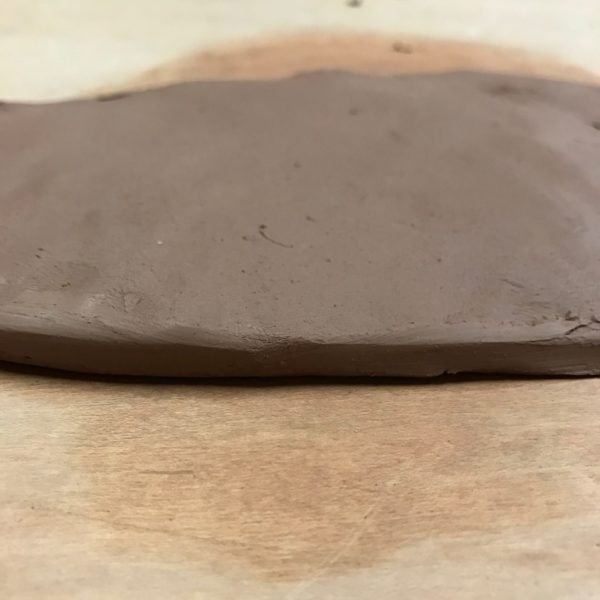
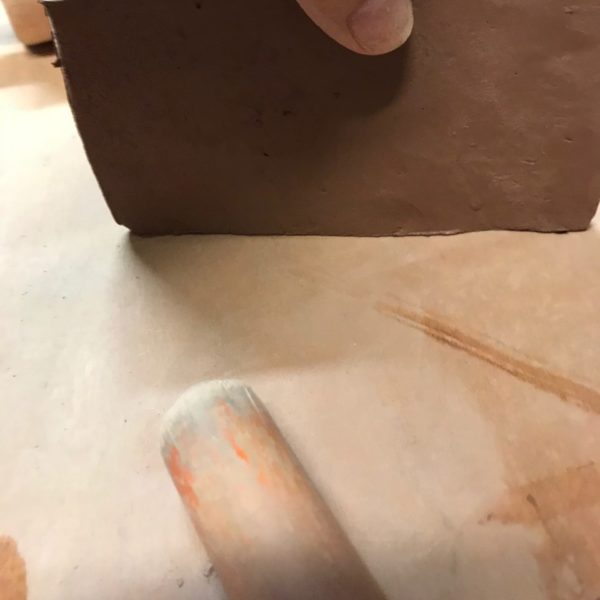
- Start with rolling out your clay as smooth as possible, between ½” and ¼”.
- You can use the roller provided, a rolling pin from home, a piece of pipe, a can, etc…
- If it’s very sticky you can use corn starch or baby powder so it doesn’t stick to the roller.
Step 4:
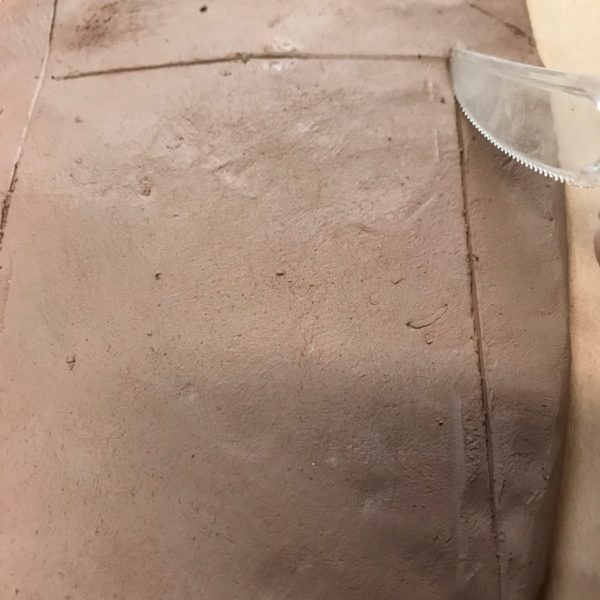
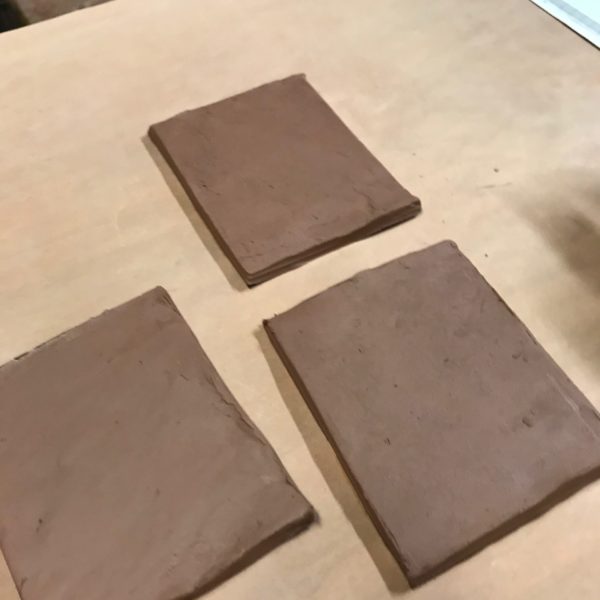
- Using the rectangle marked “x3” cut out 3 clay pieces with the template.
- Note: after you cut out the shapes from the slabs you want to let them set out for 10-15 minutes so that the clay sets up a bit and isn’t wobbly.
Step 5:
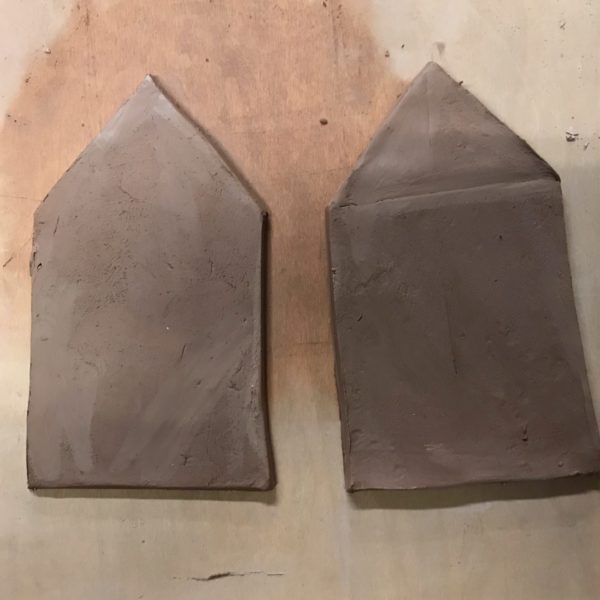
- Cut out of the clay the two end caps for the house, these look like a rectangle with a triangle on top, let them set up.
Step 7:
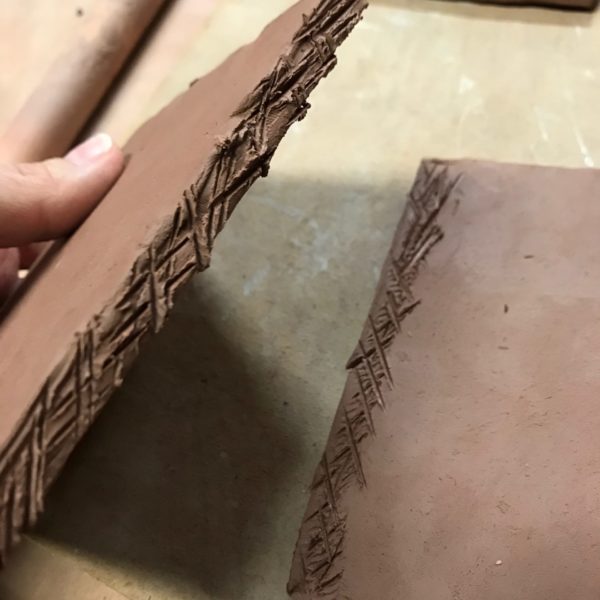
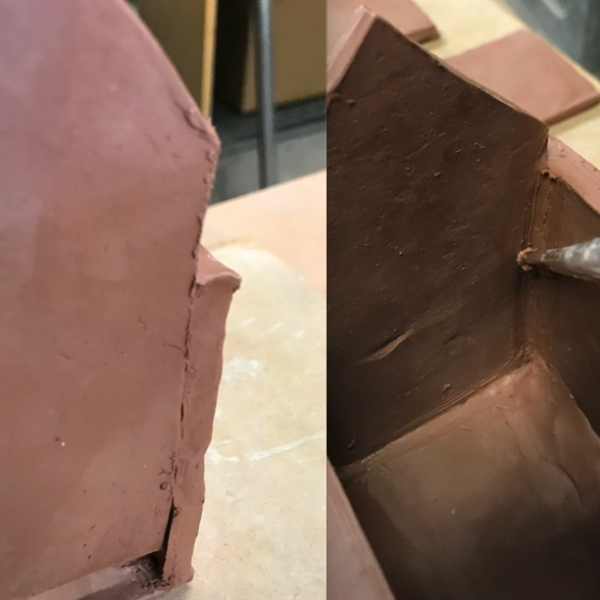
- Scratch up one long edge of two of the 4×5 rectangles and the top of the two outer edges of the last of the three 4×5 rectangles.
- Using a brush or your fingers add a small amount of water to both scratched surfaces then press them down and together.
- See image to the left
Step 8:
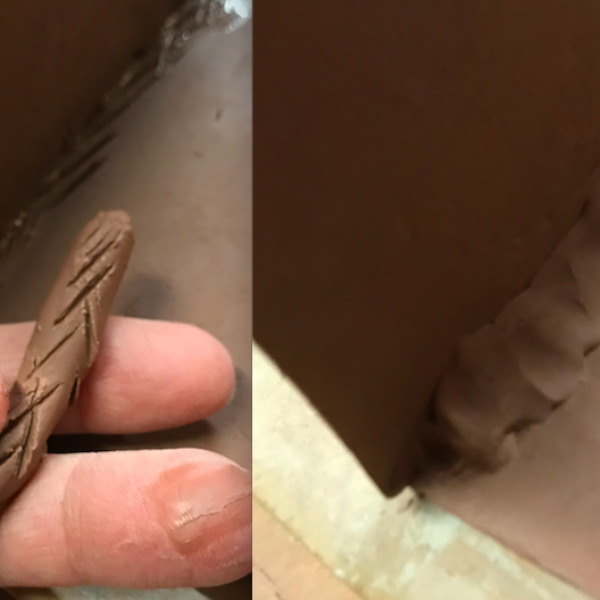
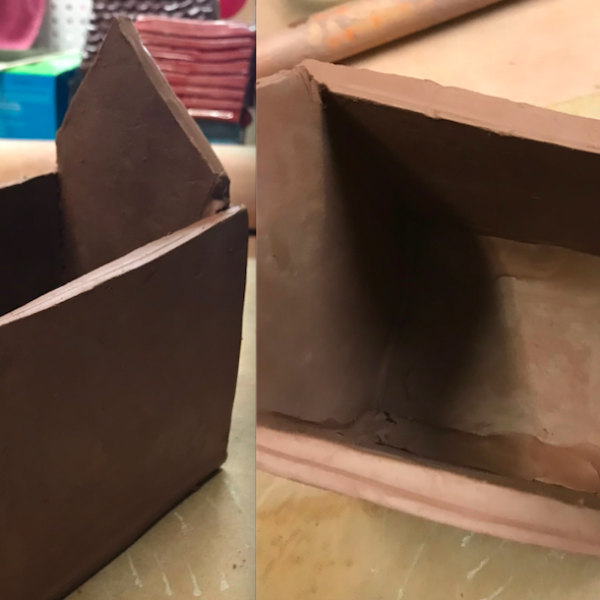
- Make a small coil (little worm) and scratch and attach with water, the worm into the right angles inside the walls.
- The coil should not go all the way to the edges, you must leave room for the end walls.
Step 9:
- Insert the end walls in between the two outer walls and on top of the base, scratch and attach with water all surfaces that touch.
Step 11:
- Cut out the last two panels that say “x2” they should be about 3”x5”and let them set up, these will be your roof panels.
- After they are firm, scratch and attach as before the two roof panels. If they don’t meet up well you can always add a coil to fill in as needed.
Step 12:
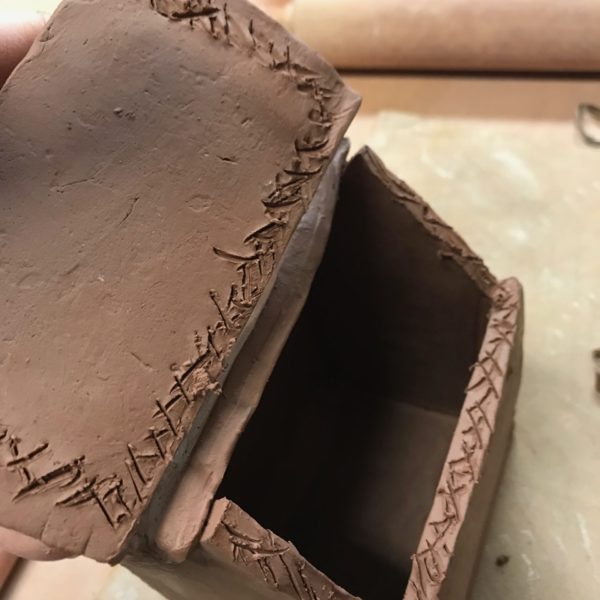
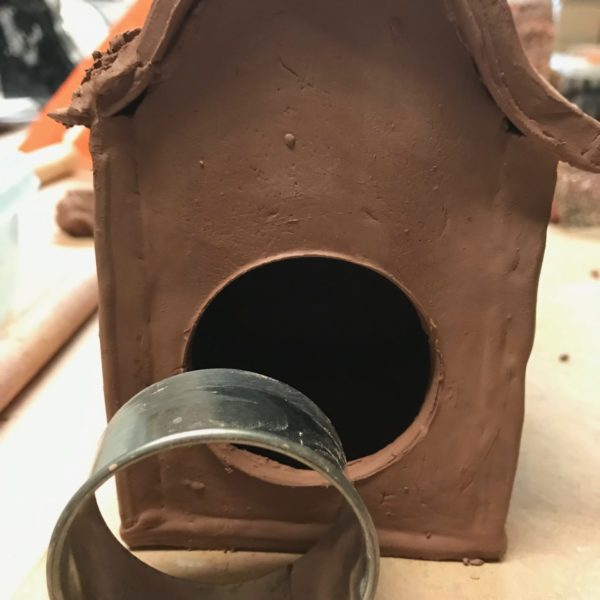
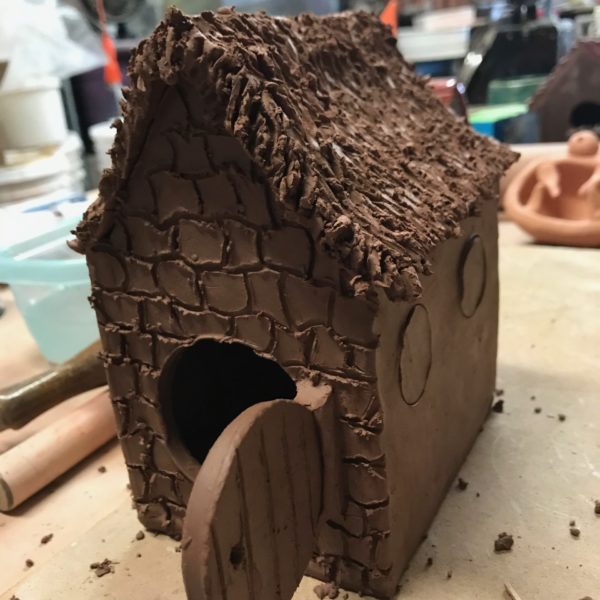
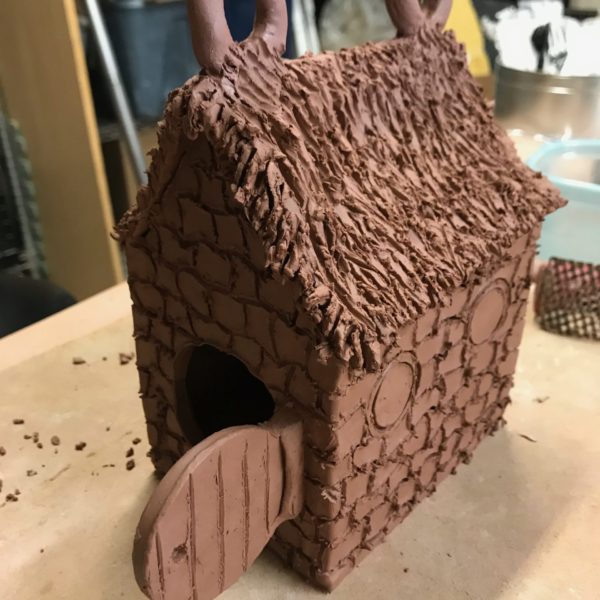
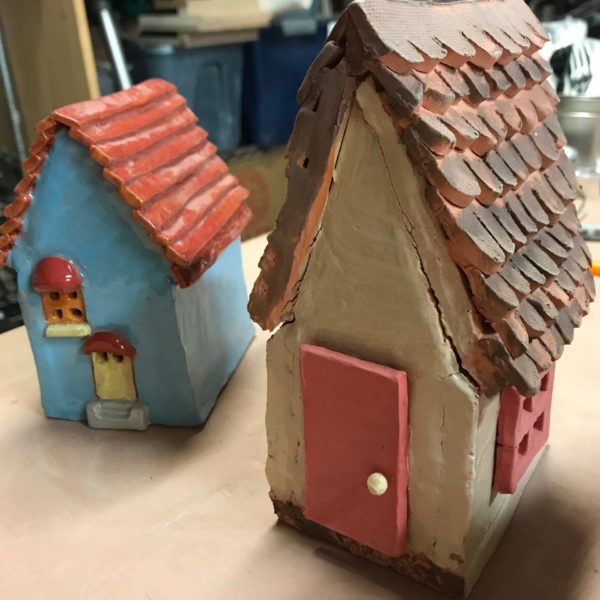
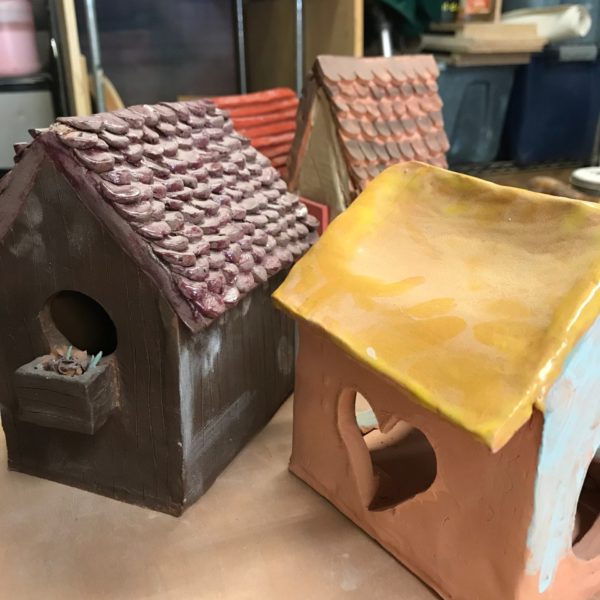
- This is your time to be creative, does it have a door? Does it have windows? Is the roof smooth, or does it have tiles?
- You can use your plastic knife and/or a toothpick to add textures or cut out openings. This is your house, make it how you want.
Step 14:
- If you want to hang this later you can make two coils into loops, then scratch and attach them to the roof
Congratulations!
Once you’ve finished, carefully wrap it in the bubble wrap. Then put it back in the box that it came in, you may put some newspaper or plastic bags around it so it won’t move around. Before returning it to Mighty Mud, make sure you write your name, phone number, and color choice on the front of the box.
If you’ve chosen “No Color” you can paint it at home using acrylics, watercolors, or spray paint.
We will fire your clay in a bisque kiln, glaze it and place it in another kiln, and give you a call when your project is ready for pick-up!
Pick-up and drop-off hours: Tuesday – Friday 11am-6pm, Saturday 9am-5pm
1528 Island Home Ave. Knoxville, TN 37920
