Creating a Pinch Owl
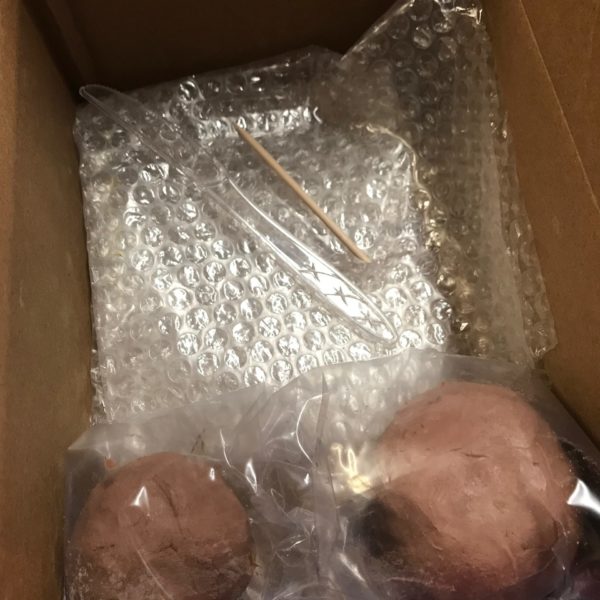
Keep everyone in your home entertained with Mighty Mud’s Pinch Owl Project! This is for all ages, kids and adults and everyone in-between. Click the link below to purchase and reserve your box!
We’re currently sold out of the Pinch Monster Box. Follow us on Facebook to see our next project we’ll have!
Video Instruction
If you prefer to watch video instruction, check out our video below. Otherwise, keep scrolling for attached pictures.
Step 2:
-
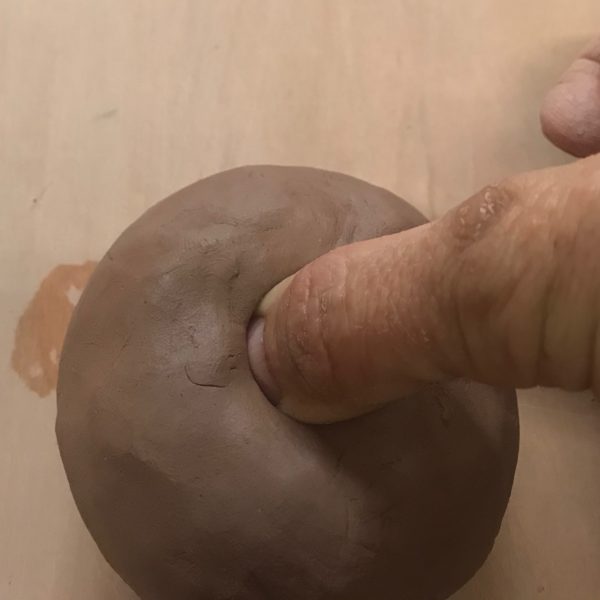
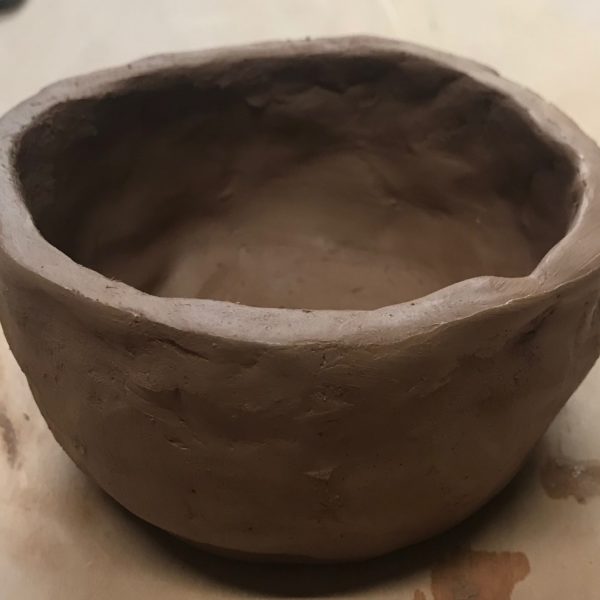
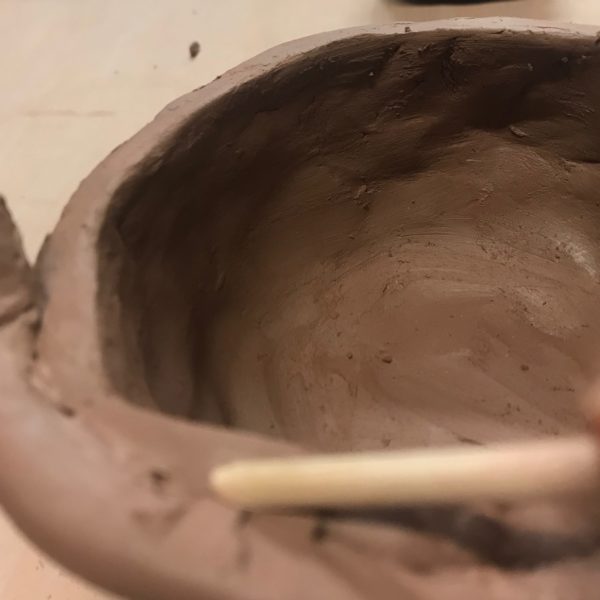
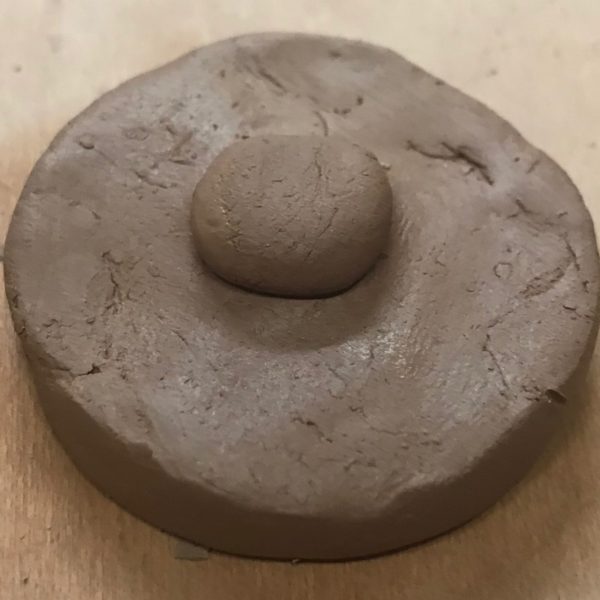
Start with the larger ball of clay, push your thumb down into the middle until you are about 1⁄2” from the bottom.
Step 3:
-
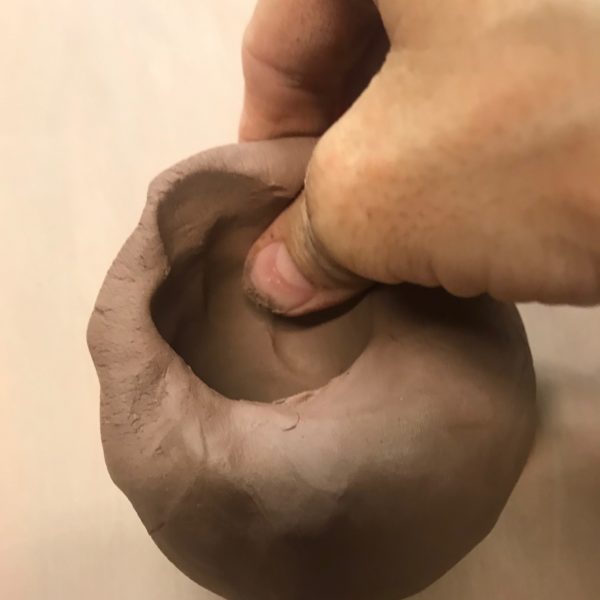
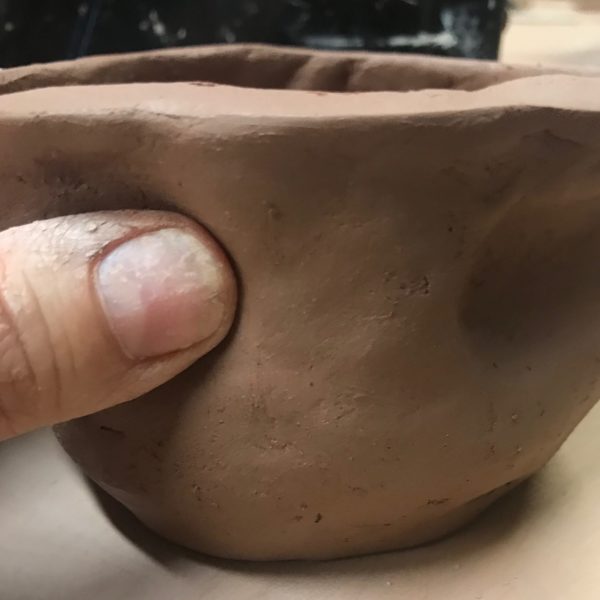
Begin pinching the sides of the clay making it go up, leave the top a little thicker than you think, if you pinch too thin the clay will break at the top.
Step 5:
-
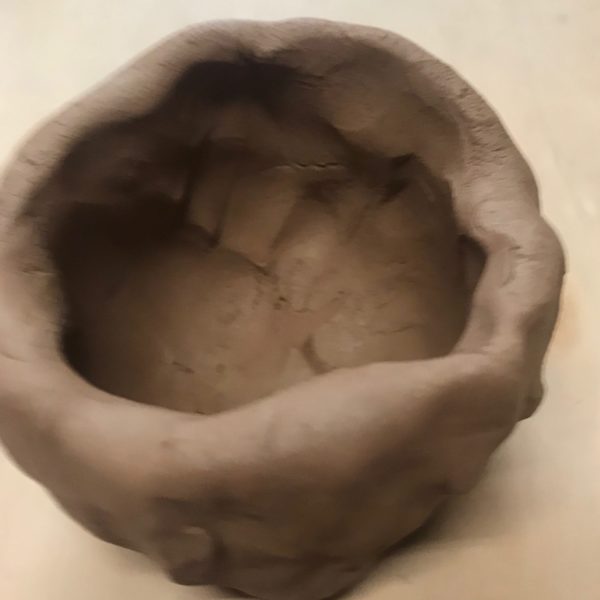
After you have the rough shape take some time and even out and smooth all the
walls and the bottom, you can use a tiny amount of water. -
Let it sit and firm up for
at least a half an hour
Step 8:
-
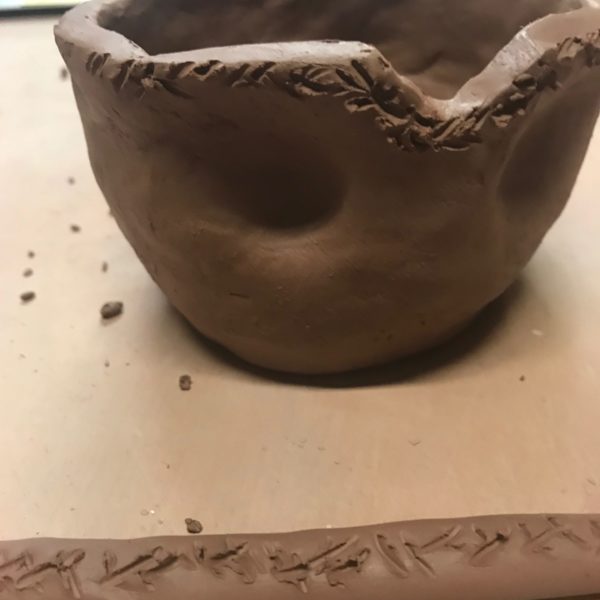
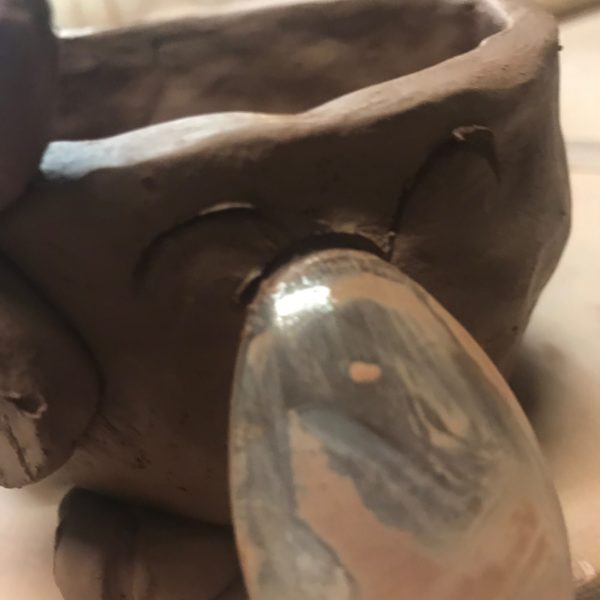
Scratch all along above and around the top of the eyes where you want your snake to go to create it’s eye brows
Step 9:
-
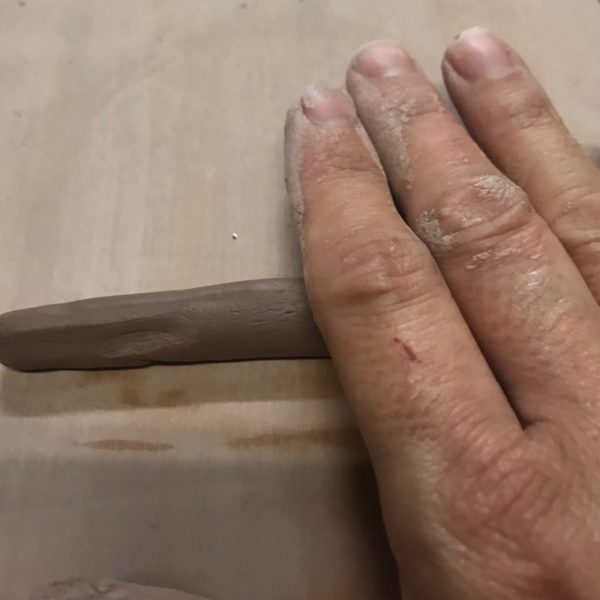
Scratch and attach the coil of clay using a small amount of water on both scratched
surfaces, use your finger or the other end of the toothpick to smooth
Step 10:
-
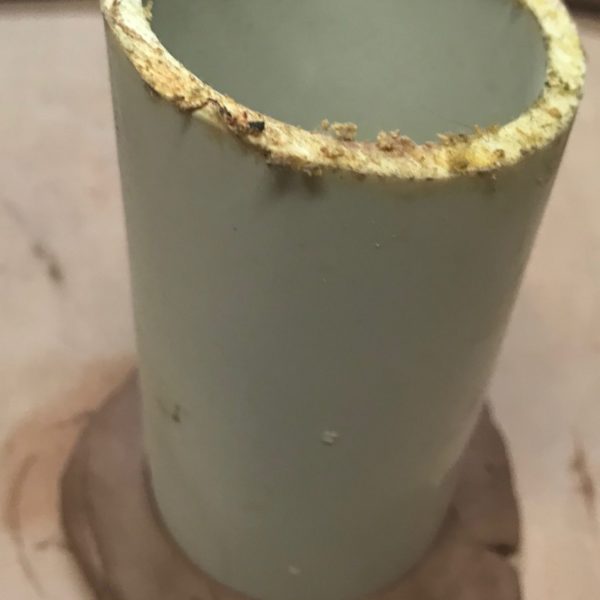
Find a circle the size you would like to use for the eyes, then cut two out. In the video we use a quarter but you decide.
Step 12:
-
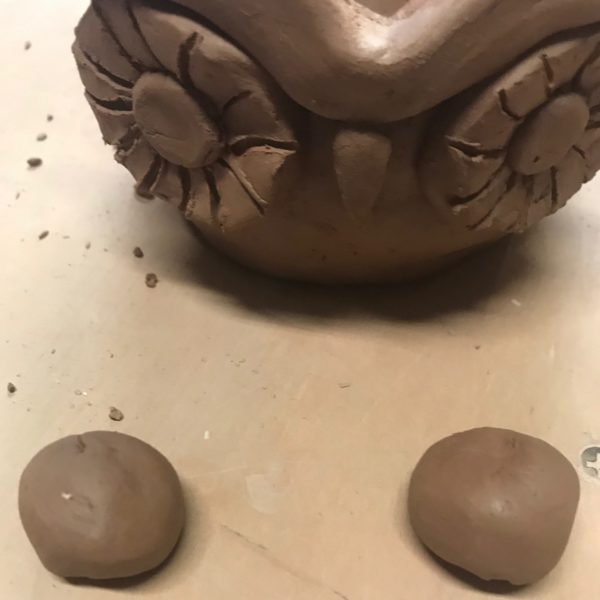
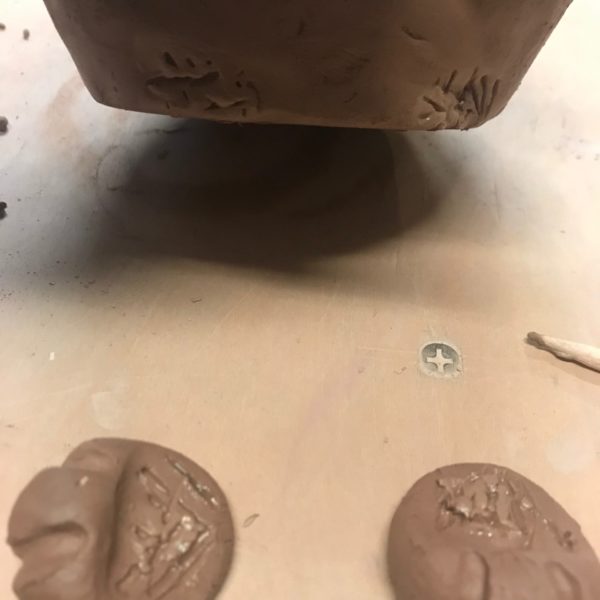
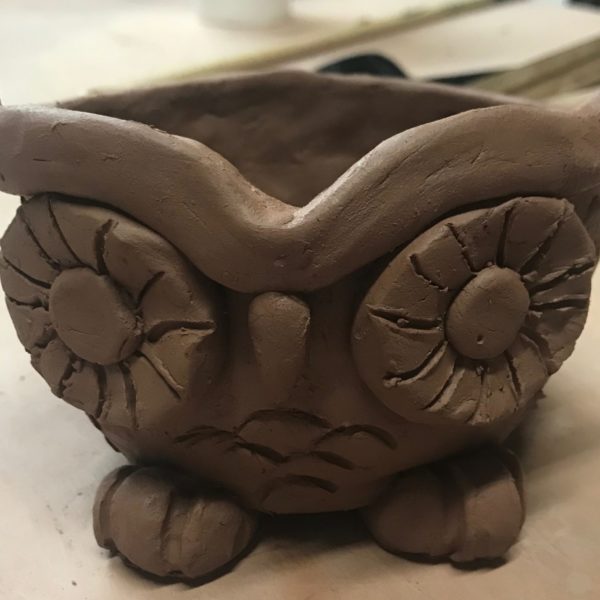
Scratch and attach the eyes to the pot where you made the indents. Cut out a small triangle and attach it between the eyes for the beak. Then make two small balls that will be its feet.
Step 13:
-
Shape the feet how you like and make sure to add lines for toes(talons), then attach the feet to the bottom front of the owl scratching and using water on all surfaces
Step 14:
-
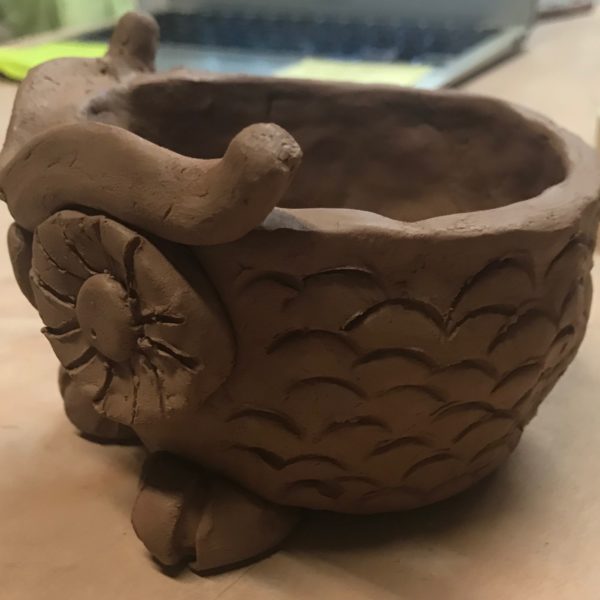
This is your time to be creative, does your owl need feathered texture, eyelashes, a tail feather? This is your owl make it look how you want.
Congratulations!
Once you’ve finished, carefully wrap it in the bubble wrap. Then put it back in the box that it came in, you may put some newspaper or plastic bags around it so it won’t move around. Before returning it to Mighty Mud, make sure you write your name, phone number, and color choice on the front of the box.
If you’ve chosen “No Color” you can paint it at home using acrylics, watercolors, or spray paint.
We will fire your clay in a bisque kiln, glaze it and place it in another kiln, and give you a call when your project is ready for pick-up!
Pick-up and drop-off hours: Tuesday – Friday 11am-6pm, Saturday 9am-5pm
1528 Island Home Ave. Knoxville, TN 37920
