Creating a Slab Wall Pocket
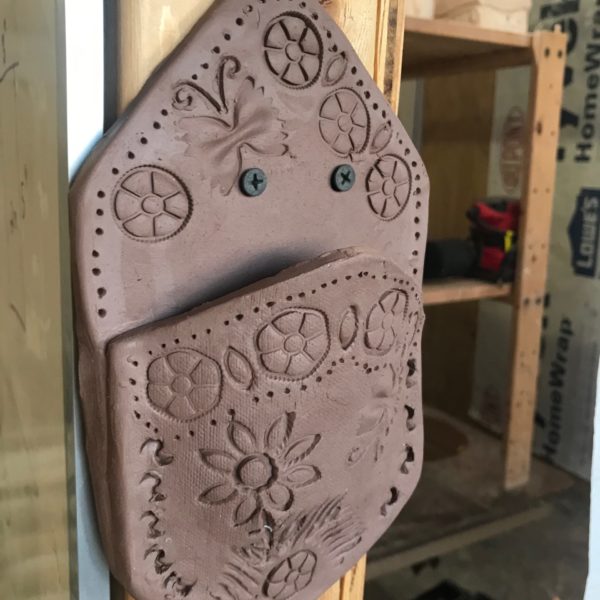
Keep everyone in your home entertained with Mighty Mud’s Slab Wall Pocket Project! This is for all ages, kids and adults and everyone in-between. Click the link below to purchase and reserve your box!
We’re currently sold out of the Pinch Monster Box. Follow us on Facebook to see our next project we’ll have!
Video Instruction
If you prefer to watch video instruction, follow along below. Otherwise, keep scrolling for attached pictures.
Follow along with Mighty Mud.
Follow below for instructions. You can download the printable instructions below.
Step 3:
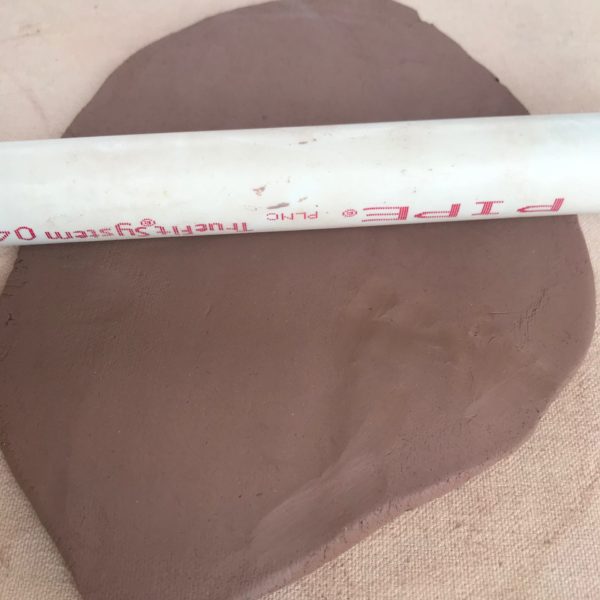
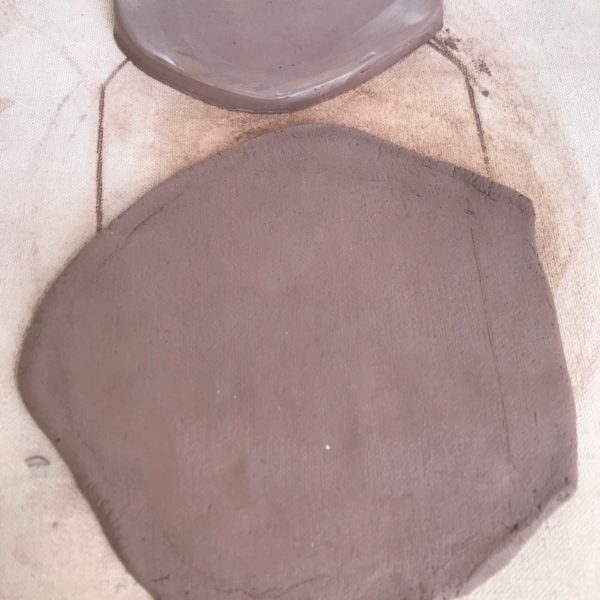
- Begin rolling out using all the clay in the shape you want to make, making sure clay is around 1/4” to ½” thick.
- Here is where you can be creative in the shape of the wall pocket. A circle, rectangle or wavy.
Step 4:
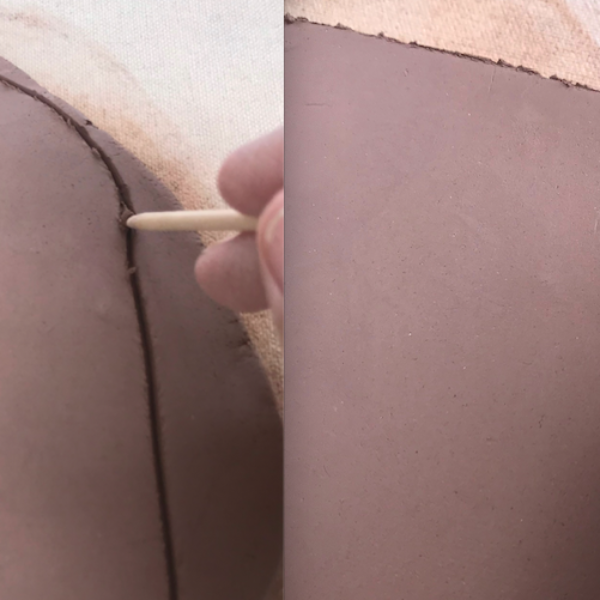
- Sketch out the shape you want your pocket using the heavy-duty toothpick.
- Then cut out using the knife.
- Let sit and firm up while starting the next piece.
Step 5:
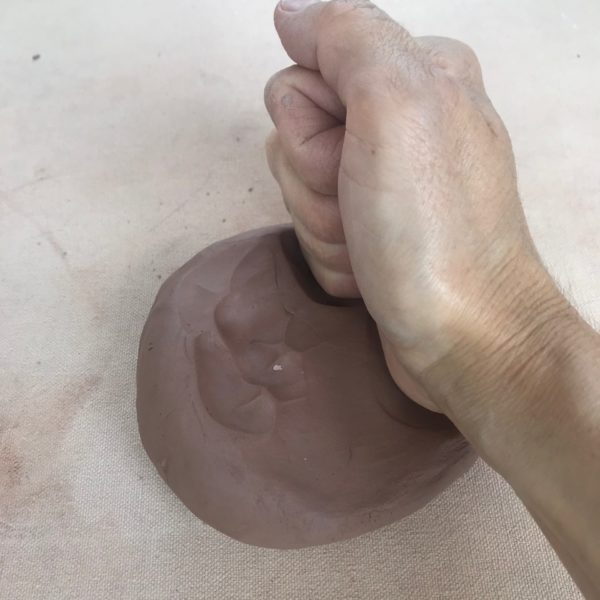
- Take the smaller ball of clay, flatten with your fist.
- Begin rolling out using all the clay to be about half the size of the first piece making sure clay is at least 1/4” to ½” thick.
Step 6:
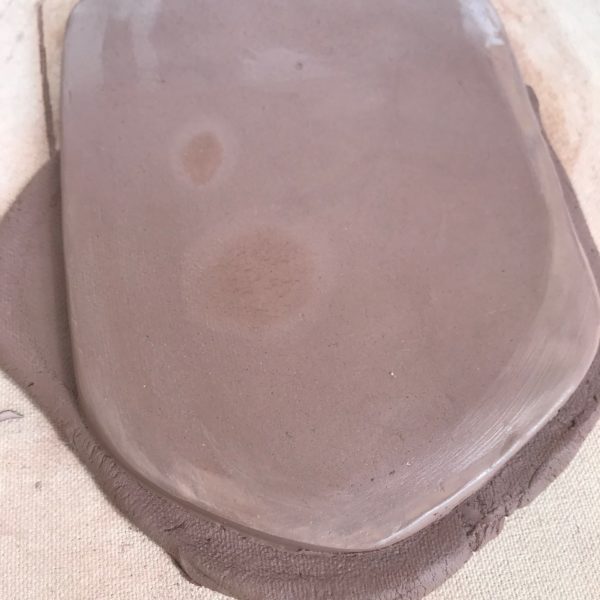
- Place first piece on top of smaller piece and cut out around bottom.
- Remove top piece and cut across top of small piece to make a nice edge.
Step 10:
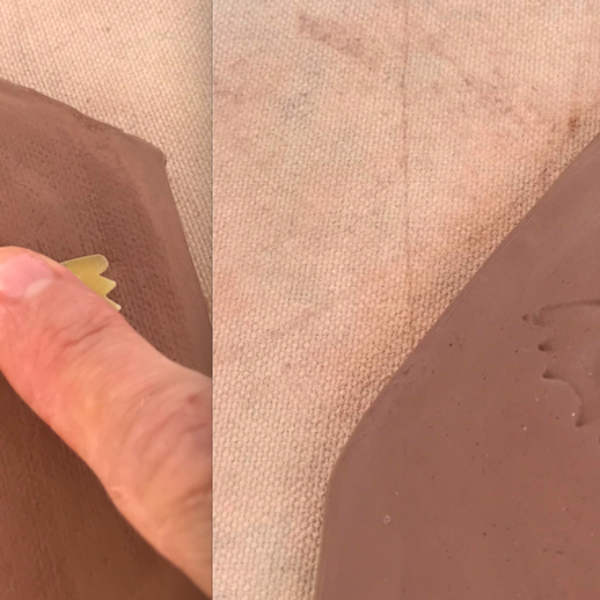
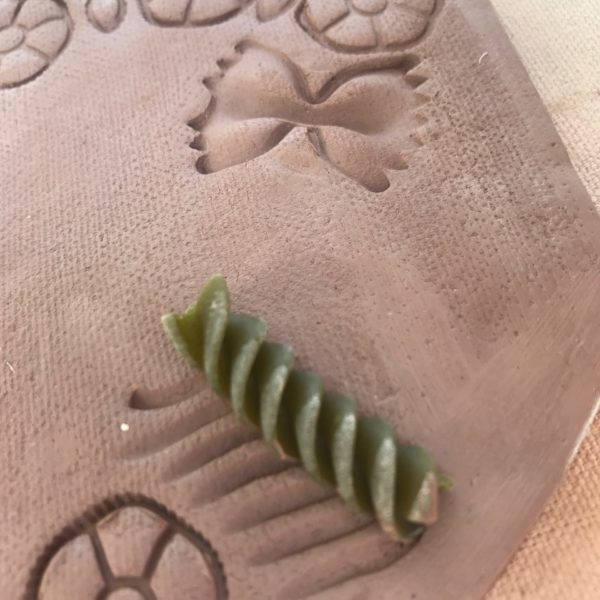
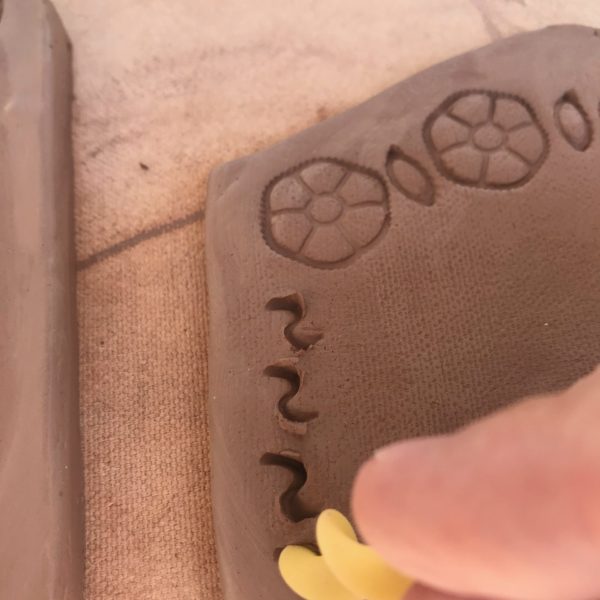
- The egg noodles make an S shape.
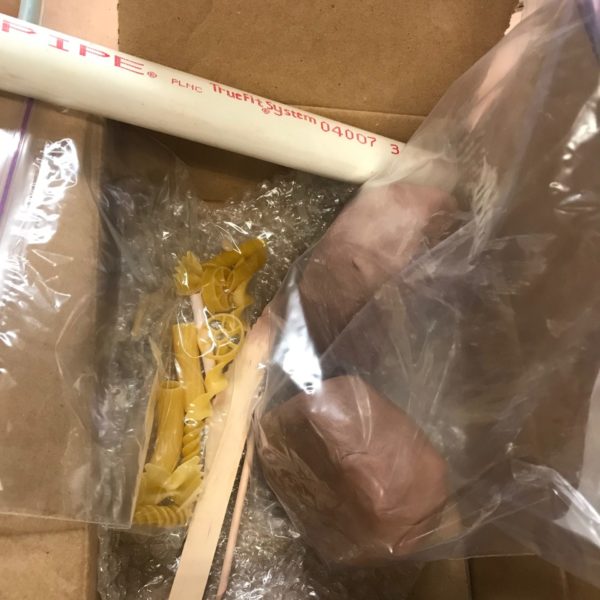
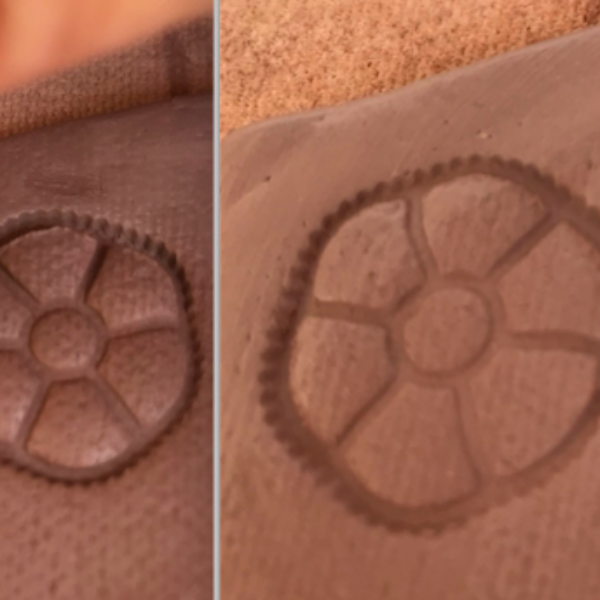
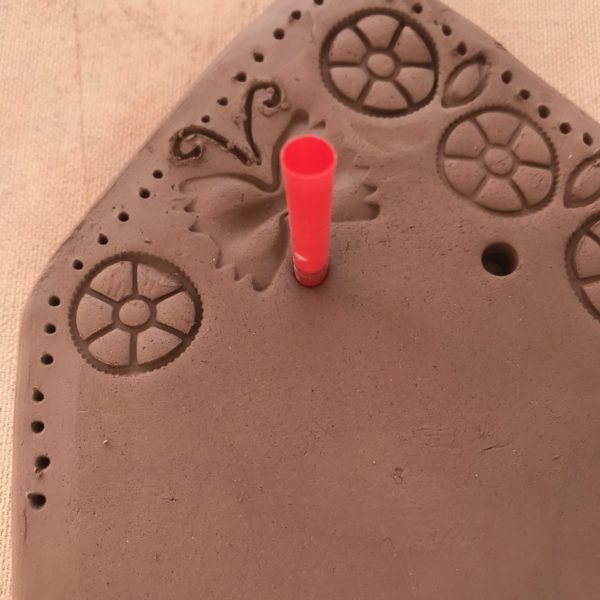
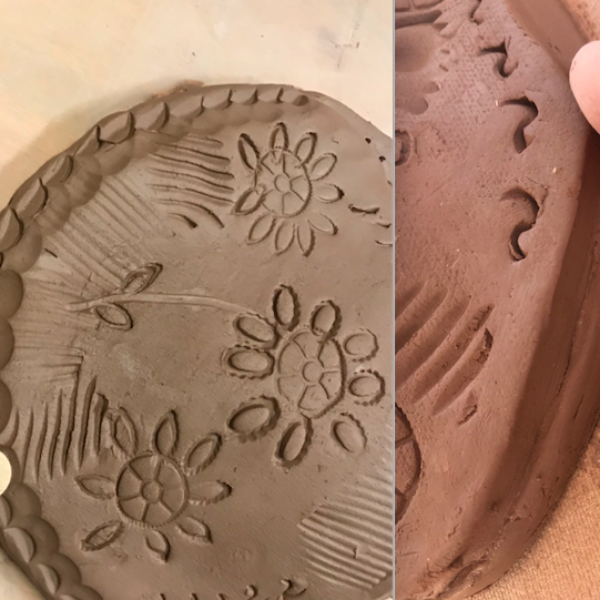
- The wagon wheels and rigatoni can make flowers centers or a nice border.
Step 12:
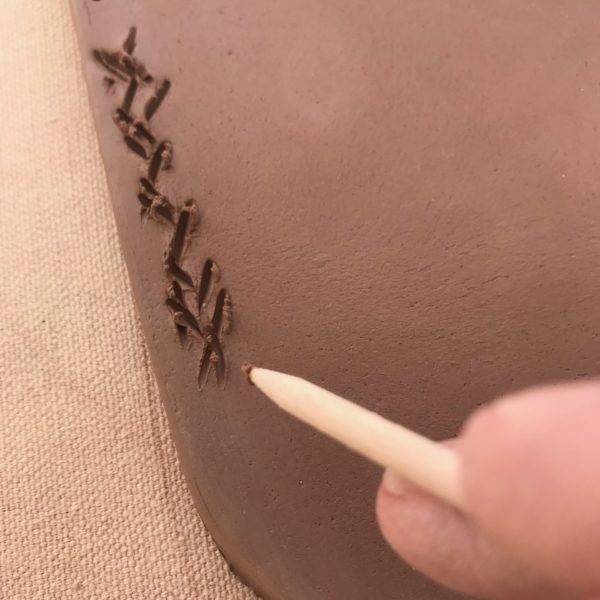
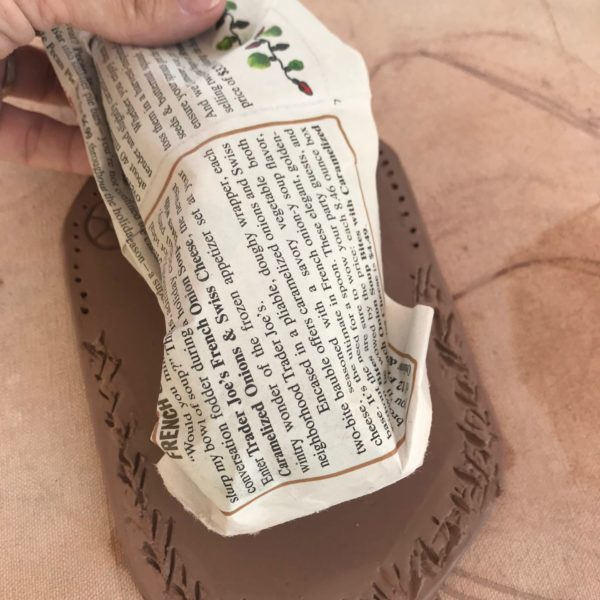
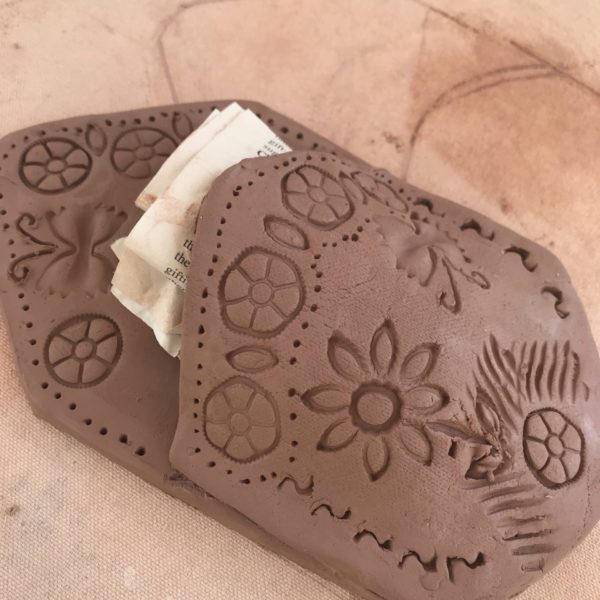
- Using the heavy-duty toothpick scratch the bottom of the large piece and the smaller piece.
- Add water with your finger to the scratch parts and attach together.
Step 16:
-
Once you’ve finished, carefully wrap it in the bubble wrap. Then put it back in the box that it came in, you may put some newspaper or plastic bags around it so it won’t move around. Before returning it to Mighty Mud, make sure you write your name, phone number, and color choice on the front of the box.
We will fire your clay in a bisque kiln, glaze it and place it in another kiln, and give you a call when your project is ready for pick-up!
If you’ve chosen “No Color” you can paint it at home using acrylics, watercolors, or spray paint.
Pick-up and drop-off hours: Tuesday – Friday 11am-6pm, Saturday 9am-5pm
1528 Island Home Ave. Knoxville, TN 37920

