Creating a Slab Mug
Keep everyone in your home entertained with Mighty Mud’s Slab Mug Project! This is for all ages, kids and adults and everyone in-between. Click the link below to purchase and reserve your box!
We’re currently sold out of this product. Follow us on Facebook to see our next project we’ll have!
Video Instruction
If you prefer to watch video instruction, below are 2 great videos. Otherwise, keep scrolling for attached pictures.
Step 2:
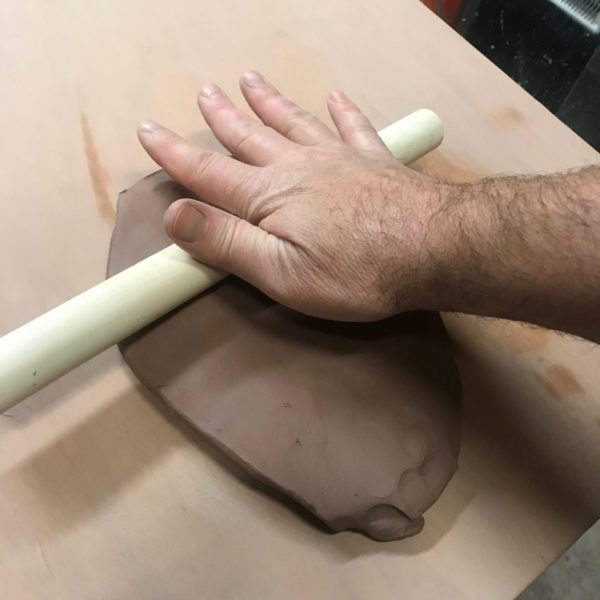
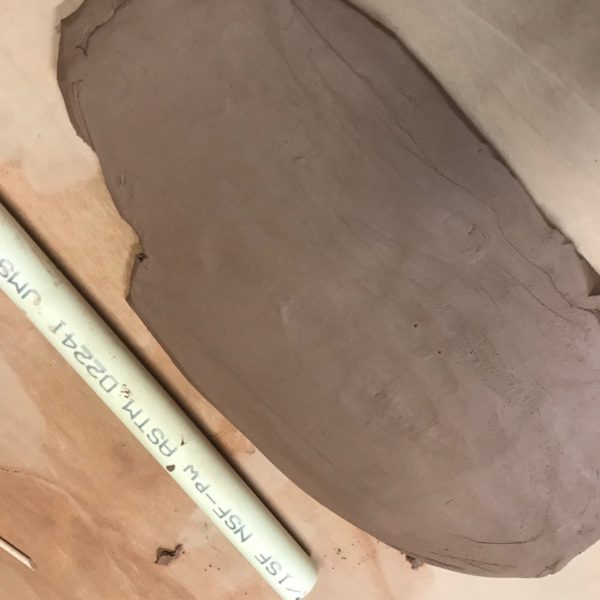
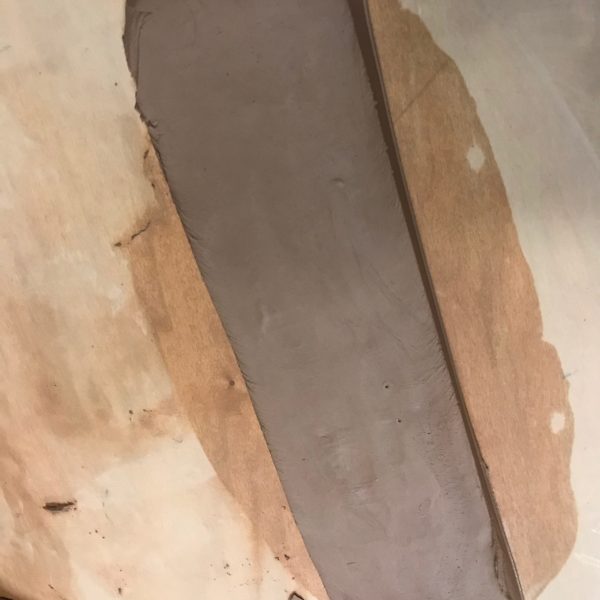
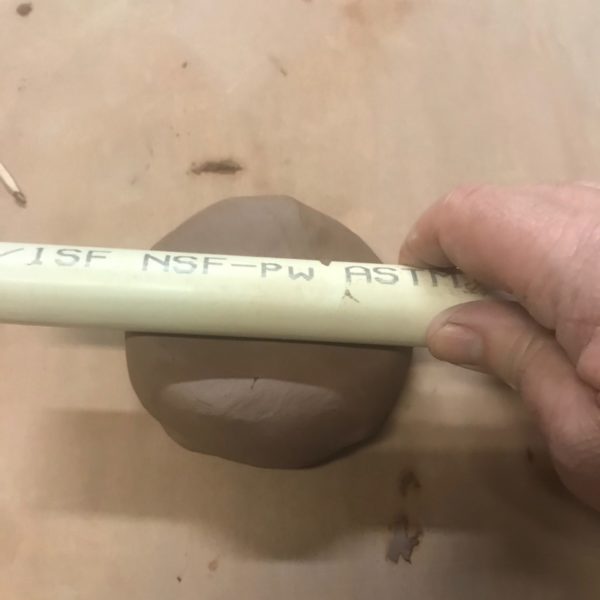
- Start with rolling out your clay as smooth as possible, between ½” and ¼”.
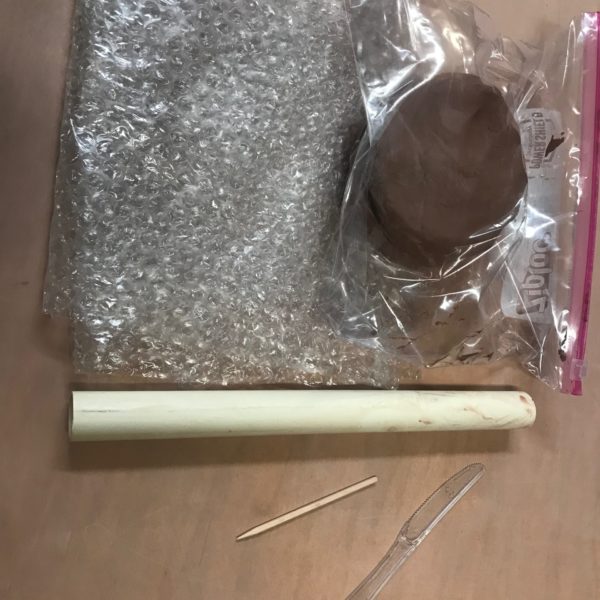
- You can use the roller provided, a rolling pin from home, a piece of pipe, a can, etc…
- If it’s very sticky you can use corn starch or baby powder so it doesn’t stick to the roller.
Step 3:
-
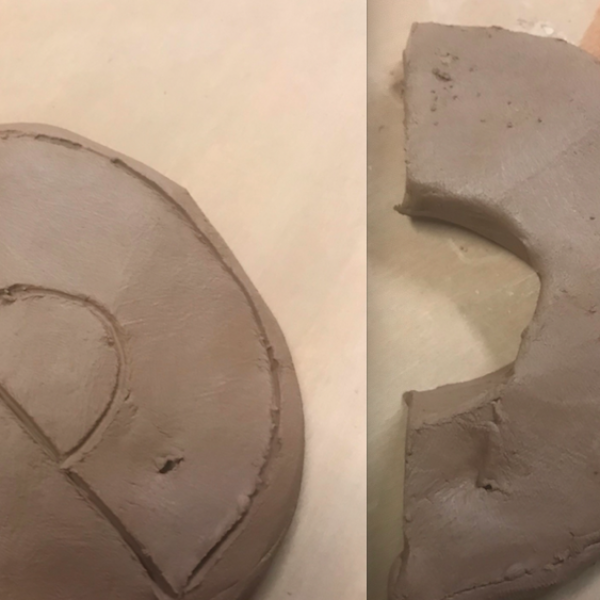
Your slab needs to be around 9-12 inches long, whatever you need to wrap around your round object.
Step 4:
-
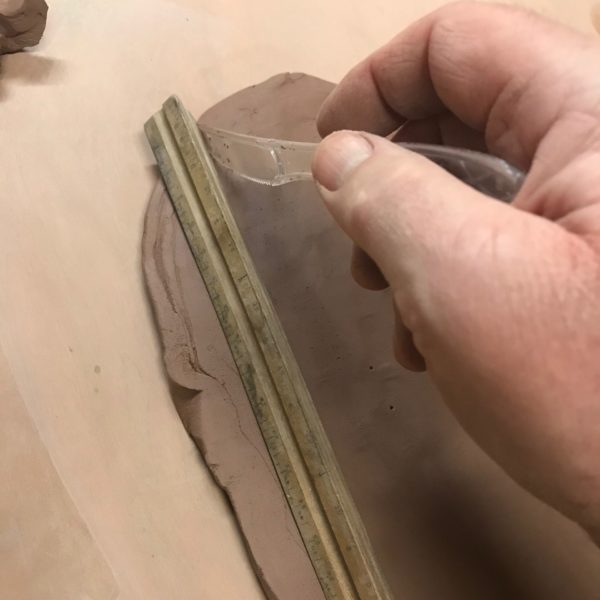
Measure two parallel lines on your slab, the distance between these lines will be the height of your mug.
Step 6:
-
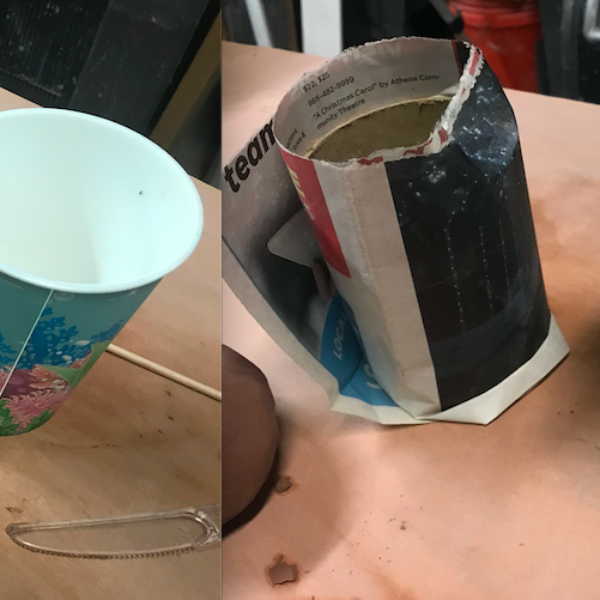
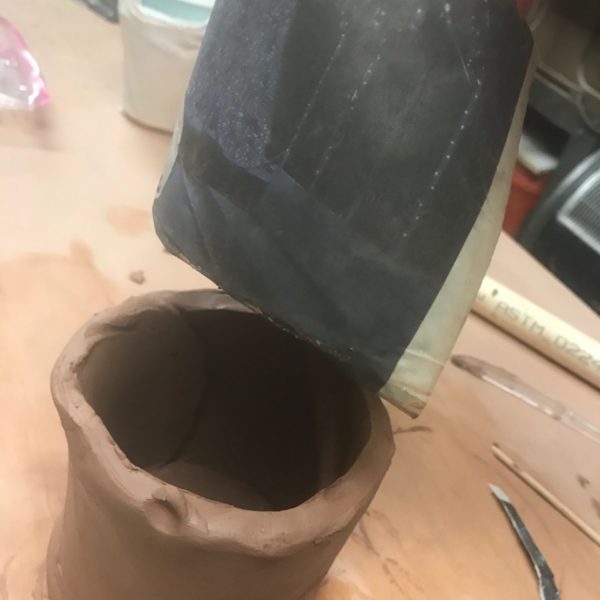
Find a plastic cup, round cardboard, solo cup, etc…
-
You will use this object to wrap your clay around to create your mug.
-
Wrap a paper towel or newsprint around the object. You can use masking tape to secure the wrap to itself.
Step 7:
-
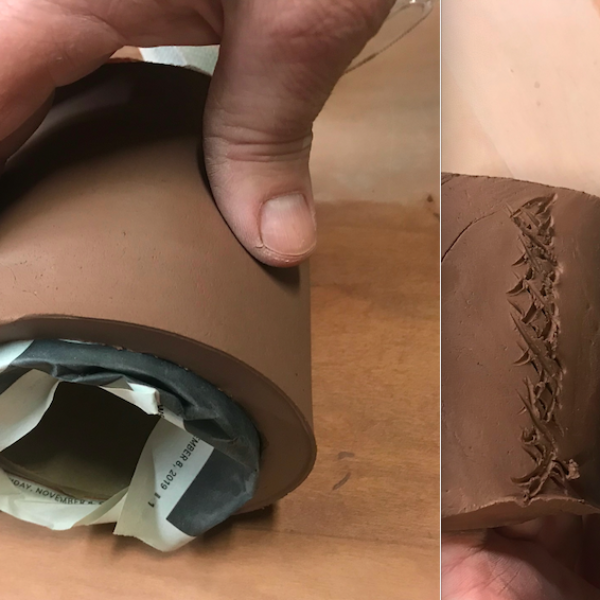
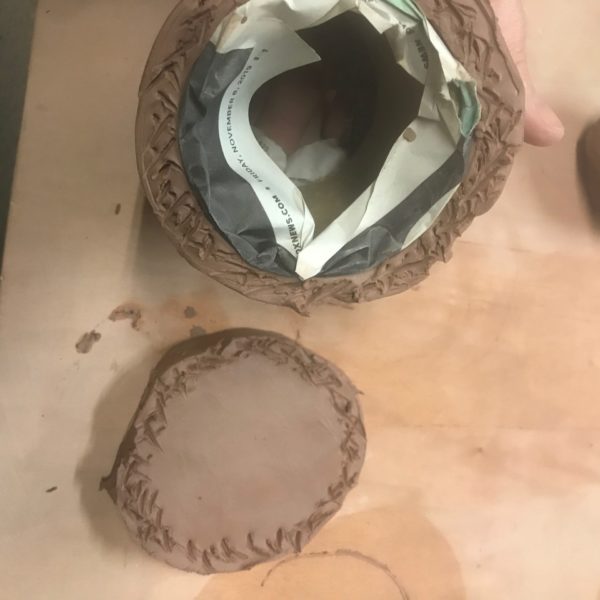
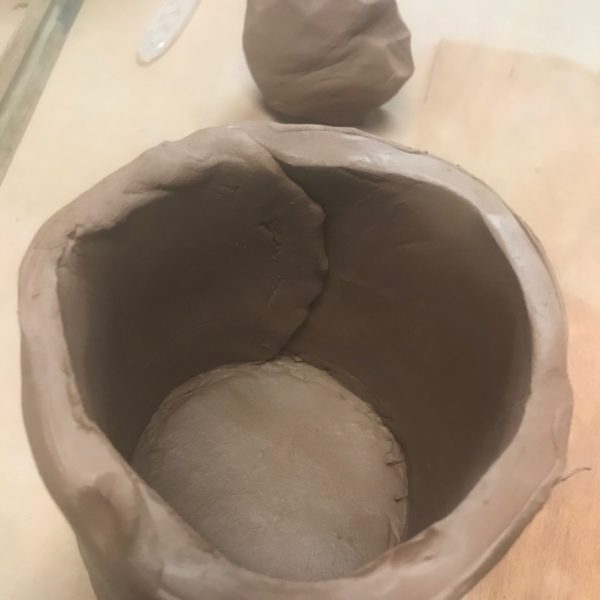
Roll your slab around your object, scratch the spot where the ends of the slabs come together using your toothpick.
Step 8:
-
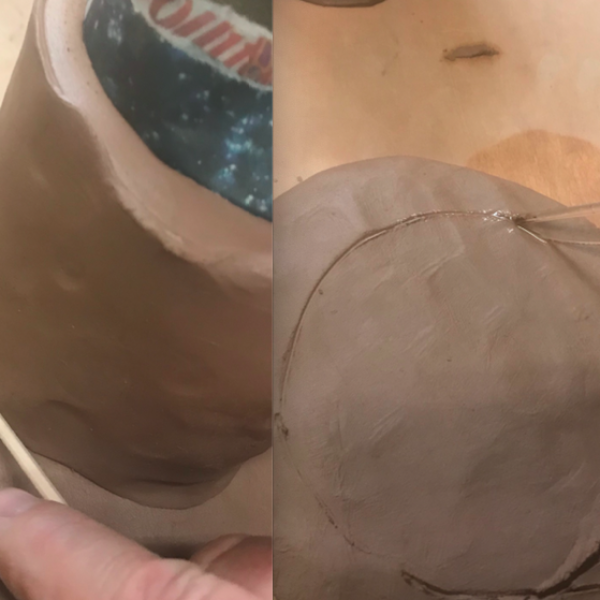
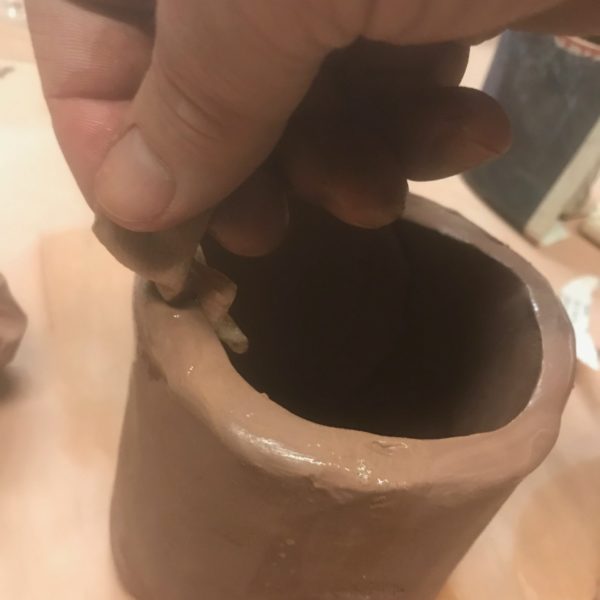
Use a small amount of water on both scratched surfaces and press the two together and smooth out.
-
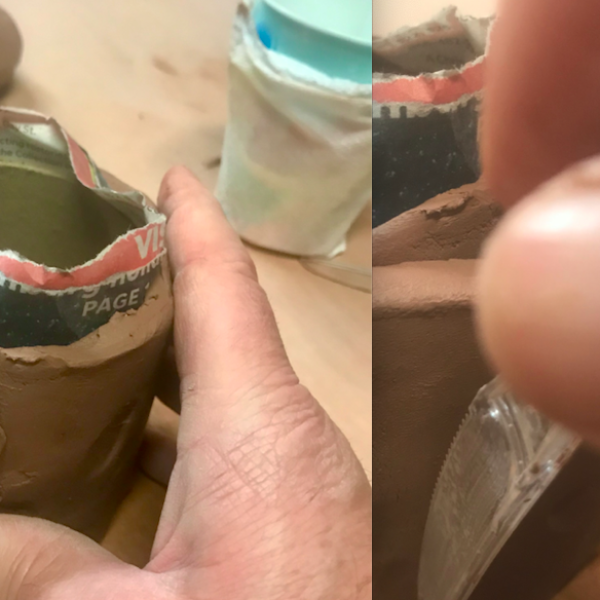
Trim off any excess clay with your knife.
Step 14:
-
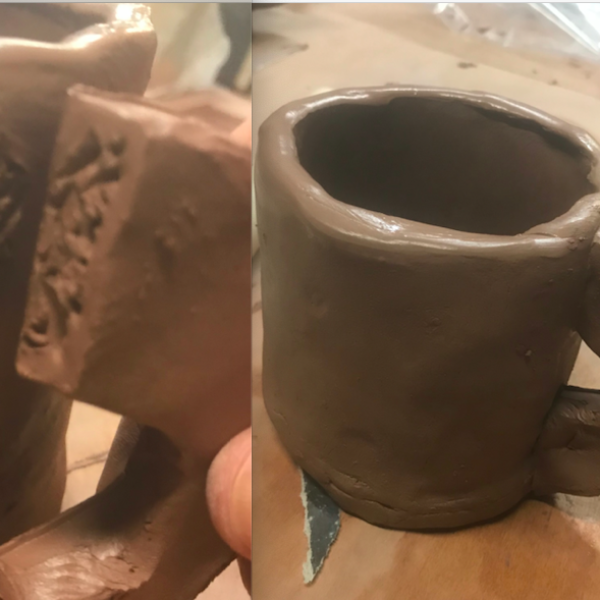
Rub the lip of your mug to make it smooth, use a little water with a piece of paper towel or fingers, see video.
Congratulations!
Once you’ve finished, carefully wrap it in the bubble wrap. Then put it back in the box that it came in, you may put some newspaper or plastic bags around it so it won’t move around. Before returning it to Mighty Mud, make sure you write your name, phone number, and color choice on the front of the box.
We will fire your clay in a bisque kiln, glaze it and place it in another kiln, and give you a call when your project is ready for pick-up!
These dishes will be fully functional, dishwasher, microwave, and food safe!
Pick-up and drop-off hours: Tuesday – Friday 11am-6pm, Saturday 9am-5pm
1528 Island Home Ave. Knoxville, TN 37920
