Creating a Pinch Pot Monster
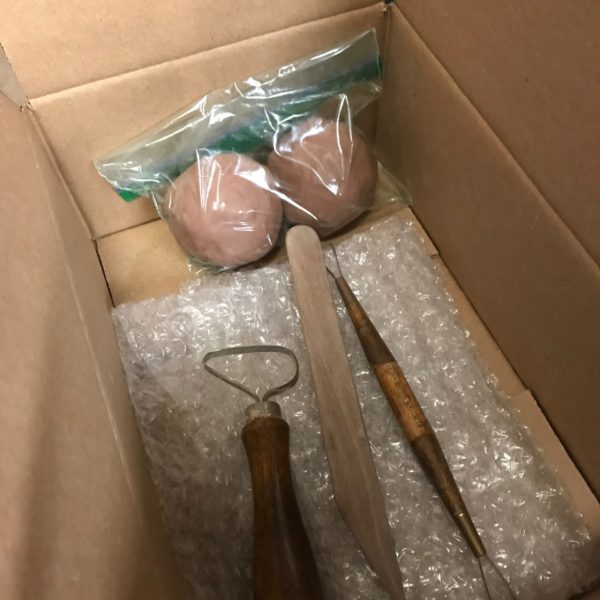
Keep everyone in your home entertained with Mighty Mud’s Monster Project! This is for all ages, kids and adults and and everyone in-between. Click the link below to purchase and reserve your box!
Video Instruction
If you prefer to watch video instruction, below are 2 great videos. Otherwise, keep scrolling for attached pictures.
Step 6:
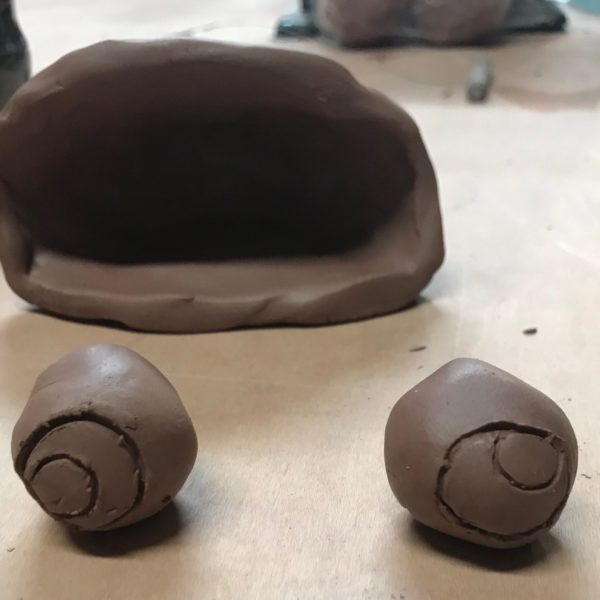
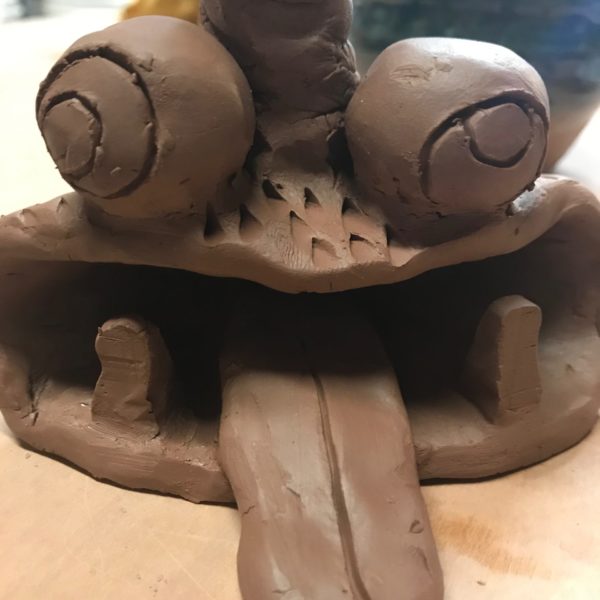
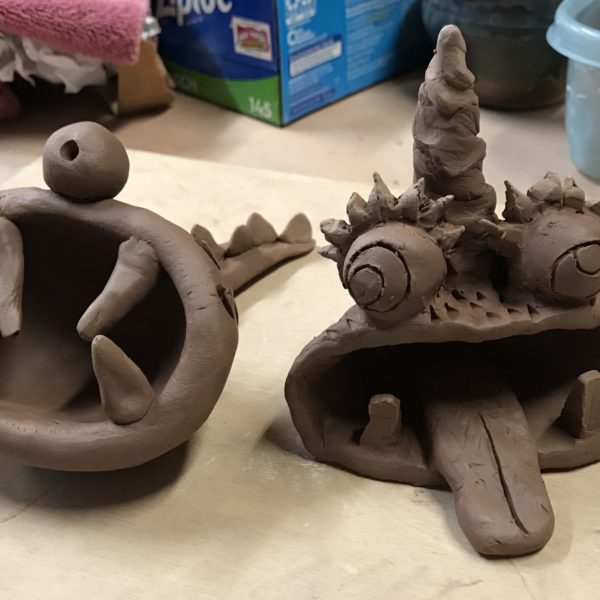
- As your mouth sets up (dries a little), make all of your additions for your monster like eyes, tongue, teeth and tail.
- Add all the details you want to them BEFORE attaching.
Step 9:
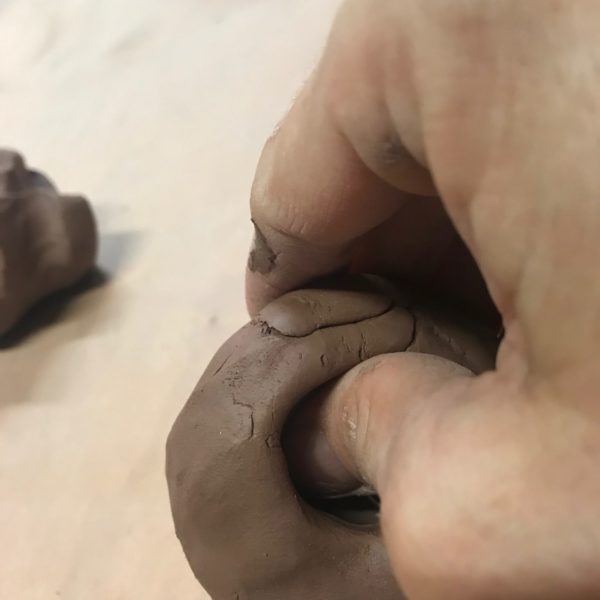
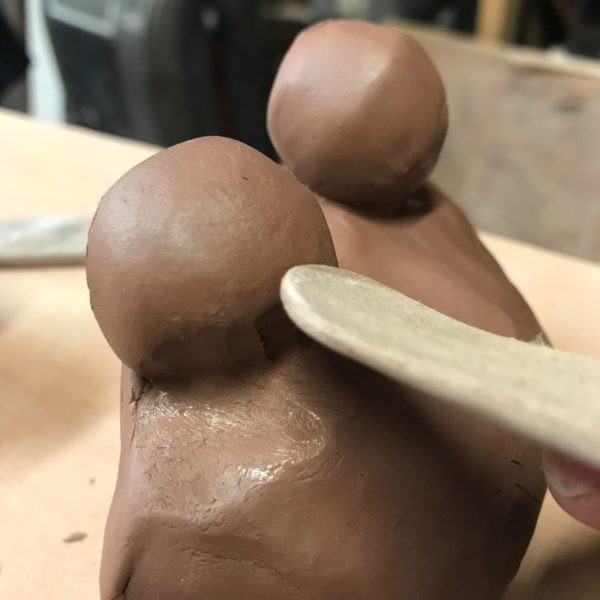
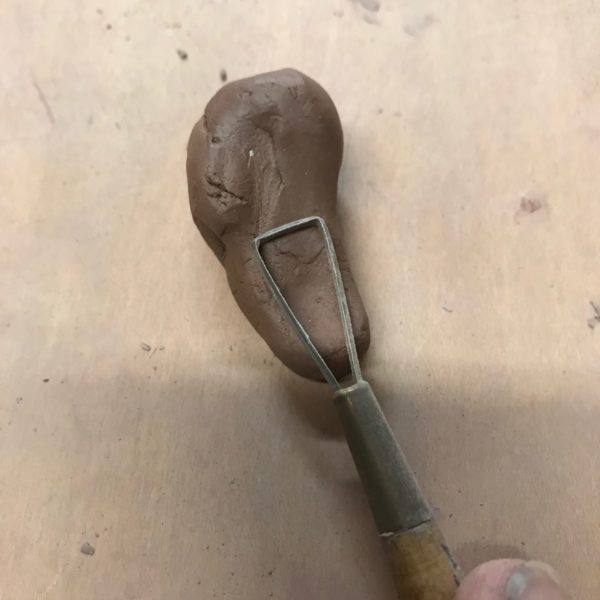
- Put a small amount of water on both scratched surfaces and twist and push.
- Use the other end of the wood modeling tool to blend the clay to put together.
Step 10:
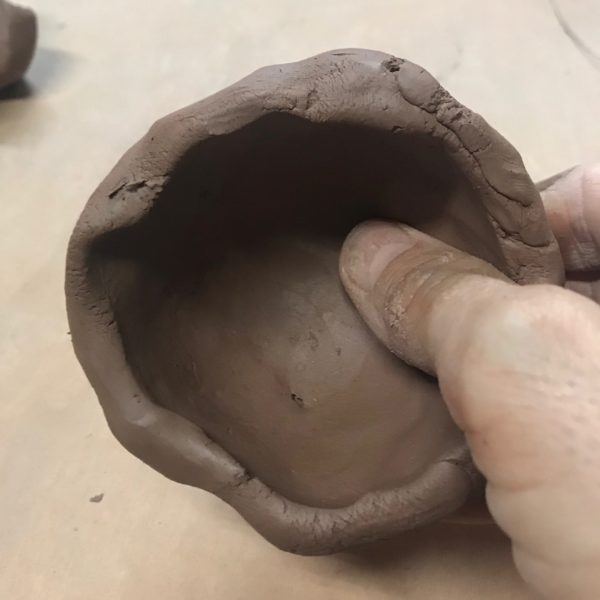
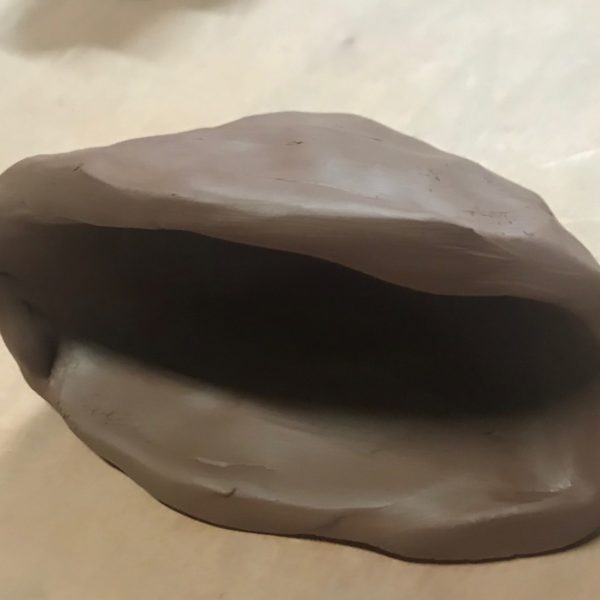
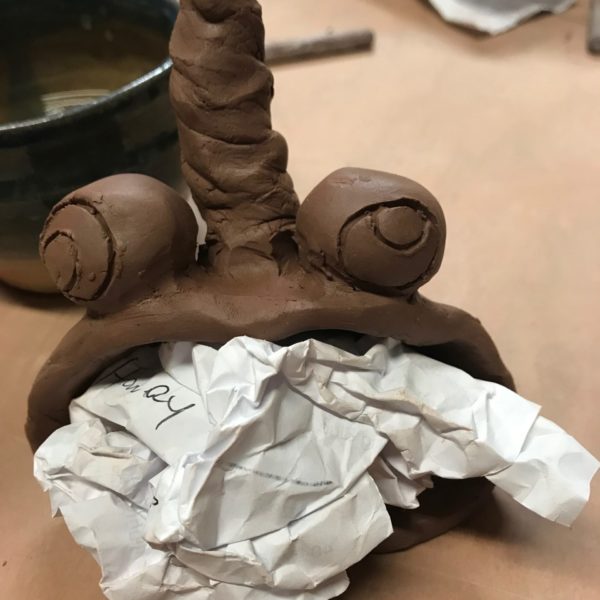
- If your monster’s mouth is becoming weighed down, add crumbled paper inside the mouth till the clay hardens.
Step 11:
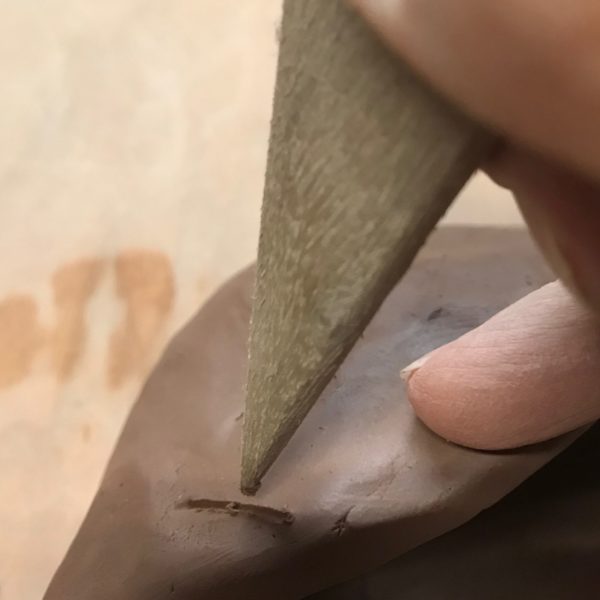
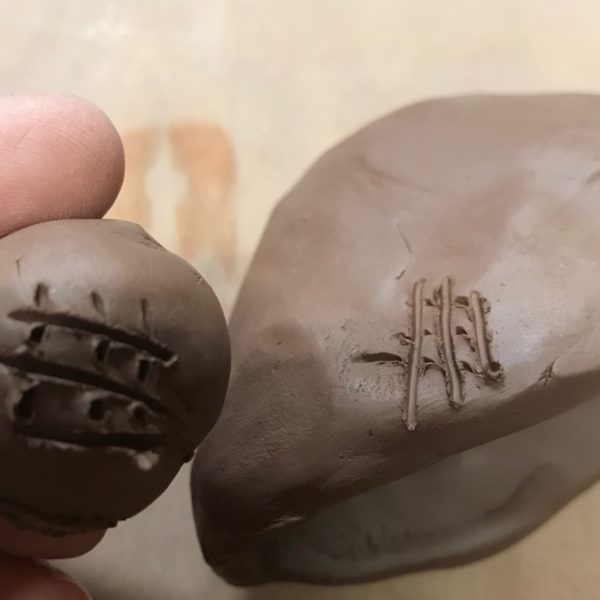
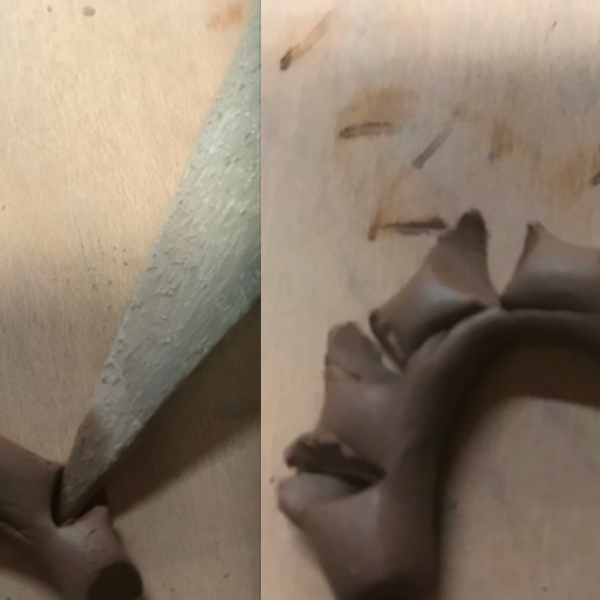
- Different tools create texture as seen here by using pointed end of the modeling tool making scales, be creative, show us something new!
Step 14:
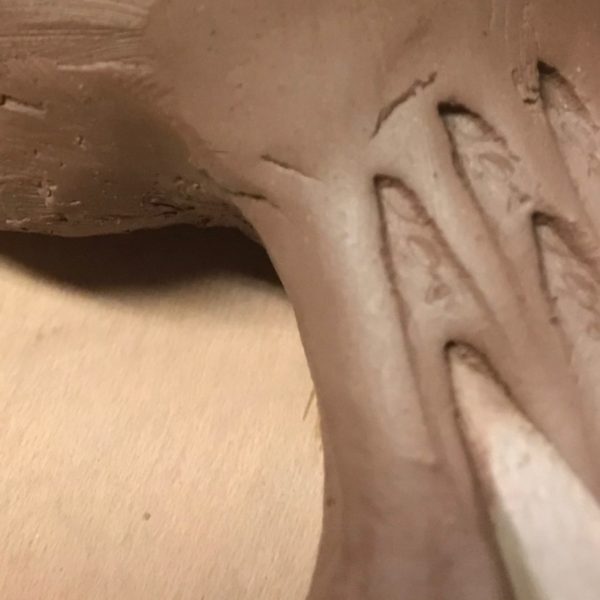
- Roll out a worm and use the pointed end of modeling tool to push through the clay to make eyelashes.
- Push sections with fingers to make a point. (If you want eyelashes that is)
Congratulations!
Once you’ve finished, carefully wrap it in the bubble wrap. Then put it back in the box that it came in, you may put some newspaper or plastic bags around it so it won’t move around. Before returning it to Mighty Mud, make sure you write your name, phone number, and color choice on the front of the box.
If you’ve chosen “No Color” you can paint it at home using acrylics, watercolors, or spray paint.
We will fire your clay in a bisque kiln, glaze it and place it in another kiln, and give you a call when your project is ready for pick-up!
Pick-up and drop-off hours: Tuesday – Friday 11am-6pm, Saturday 9am-5pm
1528 Island Home Ave. Knoxville, TN 37920
